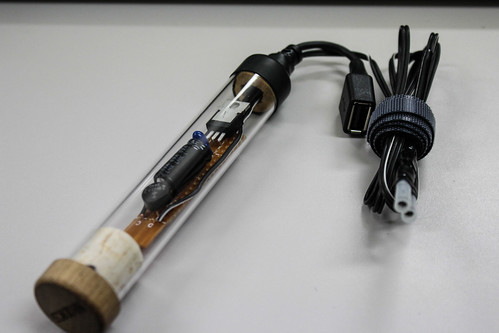
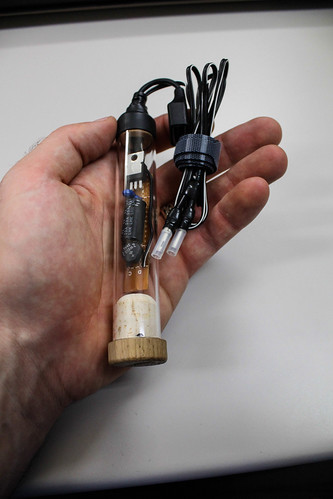
As you can see, I have also replaced the micro-USB plug with a female USB-A socket, so that I can plug any USB-type cord into it (micro-USB, mini-USB, iPhone-charger-USB, etc). This particular version is not particularly weather-tight. The actual size of it is larger than the previous shrink-wrapped version also. But it is certainly smaller than the PVC-pipe version, and should serve me well.
Haidee and I are heading off on a two-week cycle tour starting in a couple of days, so both chargers will get a thorough testing 🙂


5 thoughts on “UPDATE: DIY Bicycle Dynamo USB Charger”
No worries at all! Thanks for your reply. have sourced a similar one and have put it together with a friend this weekend. looking forward to testing it out!
Awesome!
This looks great! out of interest where did you get the clear acrylic tube from?
Sorry for the delay in reply…I found it at a local hardware store. Not sure of the make or brand. The tube is 21mm outer diameter, 1.5mm wall thickness.
One thing you might try once you have the circuit finalized is to pot the completed circuit. This encases it in a epoxy resin and renders it waterproof. If you have heat generation issues it may not be the right thing to do.